Getting Started
OPNSense can be downloaded from opnsense.org/download/ .
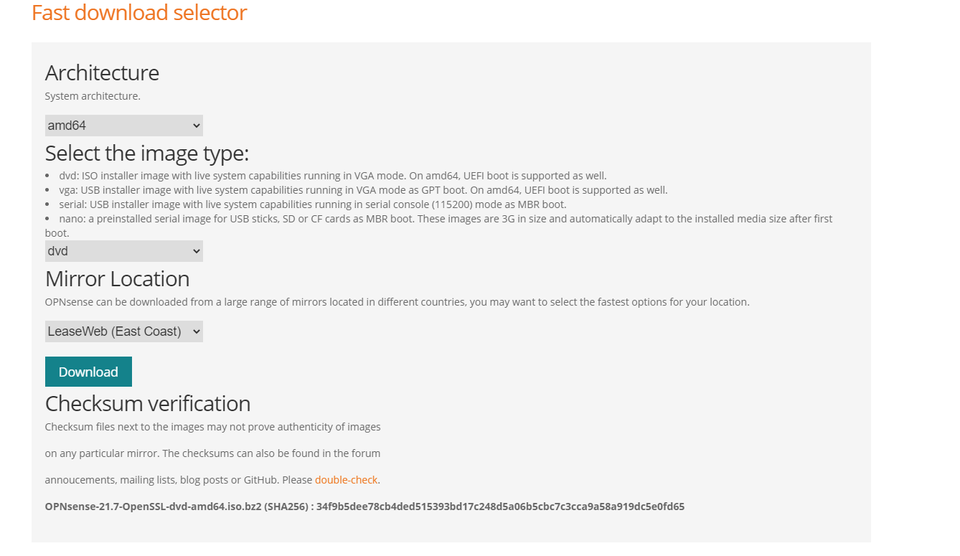
In a VMware environment, the DVD distribution is likely the most friendly. The ISO will download as a BZ2 archive, and can be unzipped with software such as 7-zip www.7-zip.org/download.html.
Once unzipped, upload the ISO to your VMware datastore or content library from the web interface.
Creating your VM
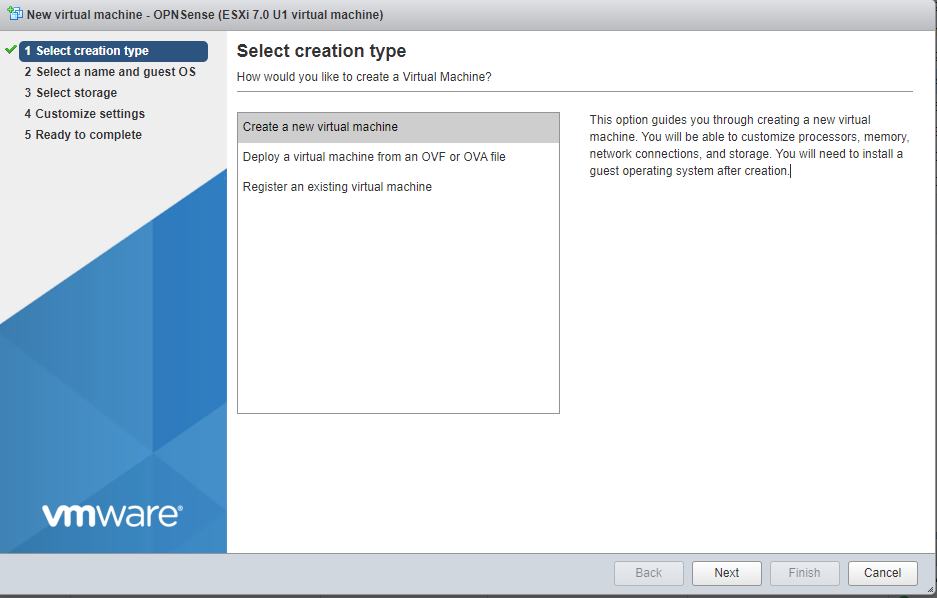
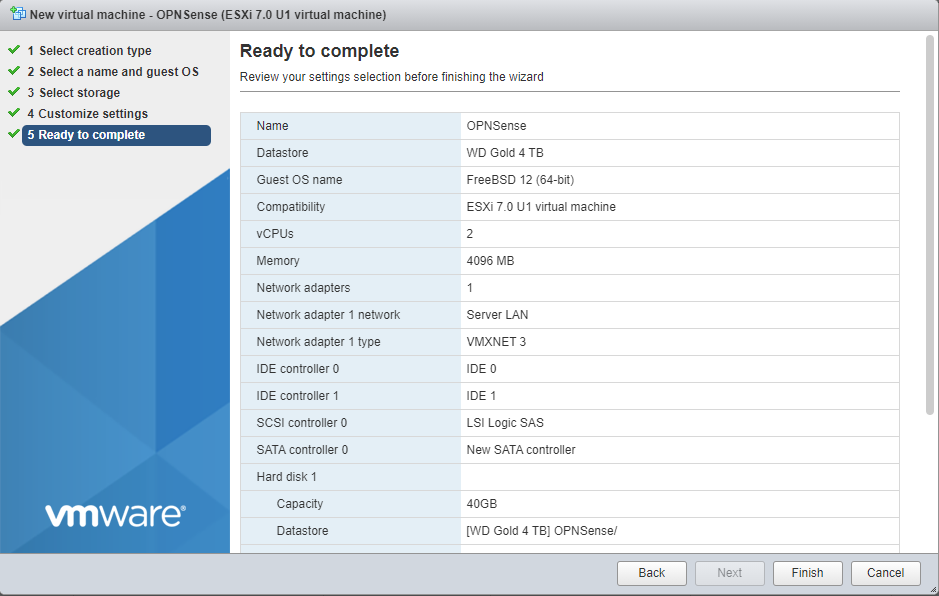
Select the first option “Creation a new virtual machine”.
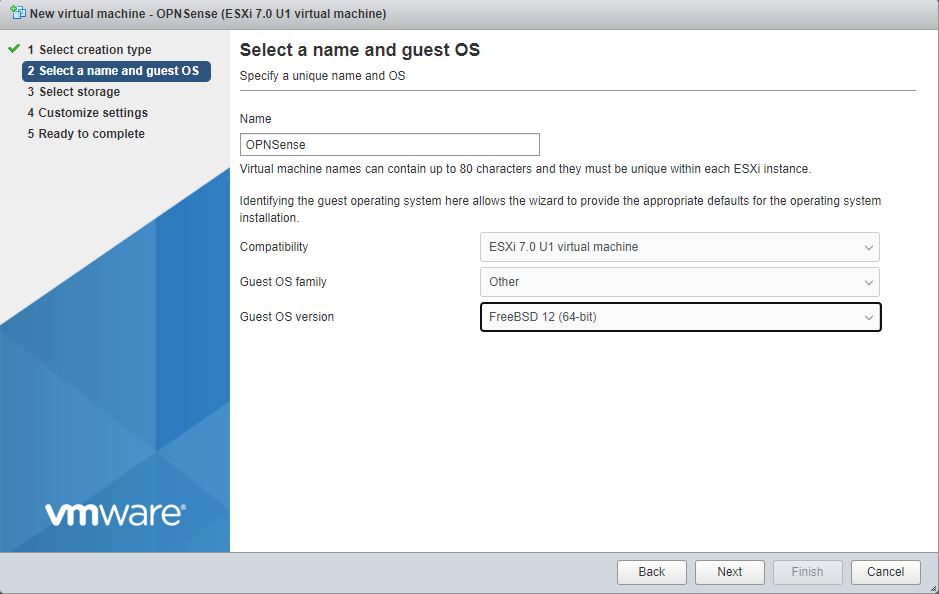
Select “Other” for your Guest OS family, and choose “FreeBSD 12 (64-bit)”.
For most use cases, 2 vCPUs, 4GB of RAM and 40 GB of hard drive space will suffice. Today we will be installing OPNSense with only a WAN interface, but one popular configuration is to create a new vSwitch in VMware. This VM’s LAN interface would live on that port group, and serve as the gateway for all other VMs on that segment.
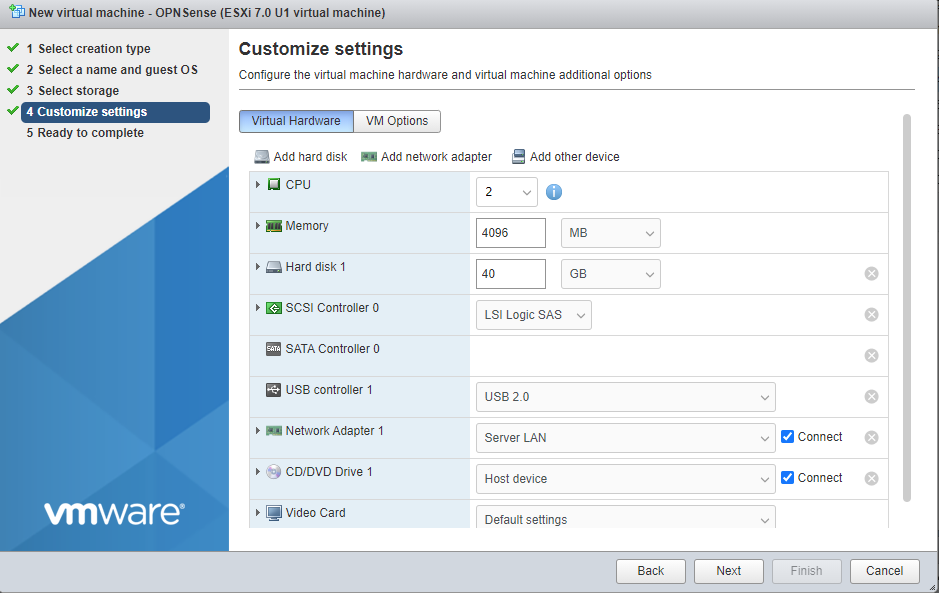
Select “Finish” to create the virtual machine.
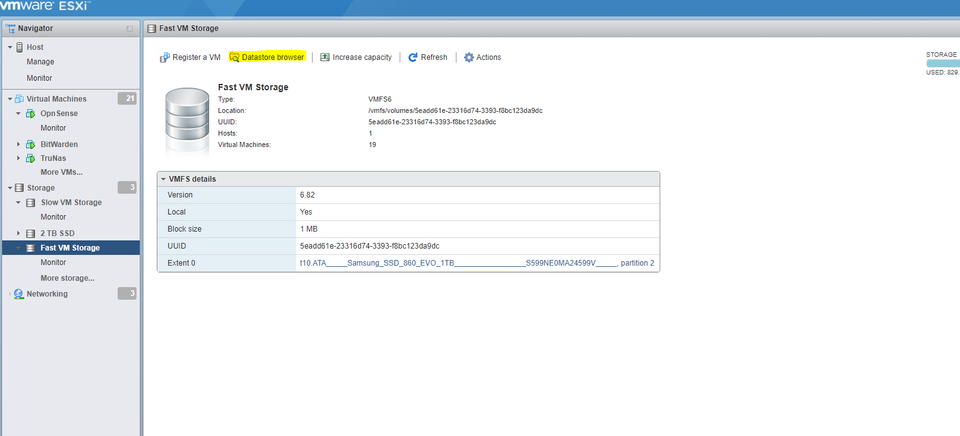
If you have already uploaded your ISO to a datastore or content library, you can skip this step. Otherwise, navigate to “Storage” and select your destination. Select “Datastore Browser”
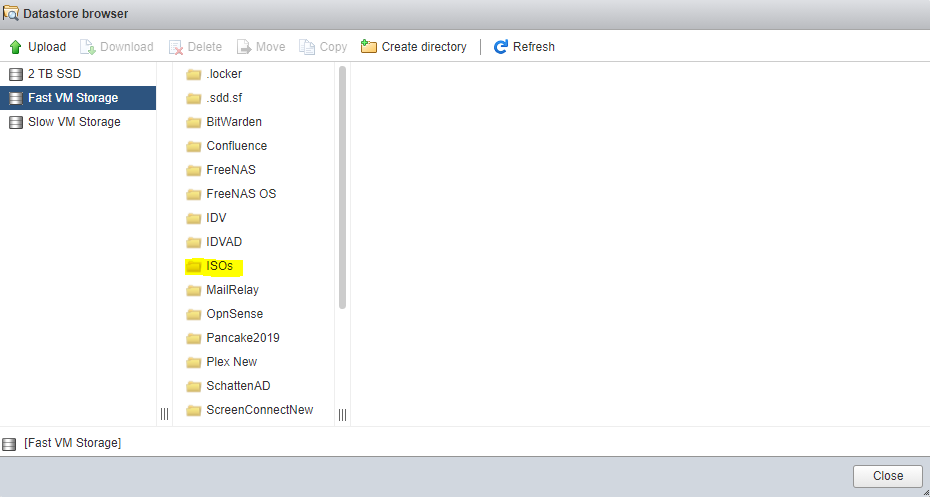
Click into the folder where you want your ISO to reside, and select “Upload”.
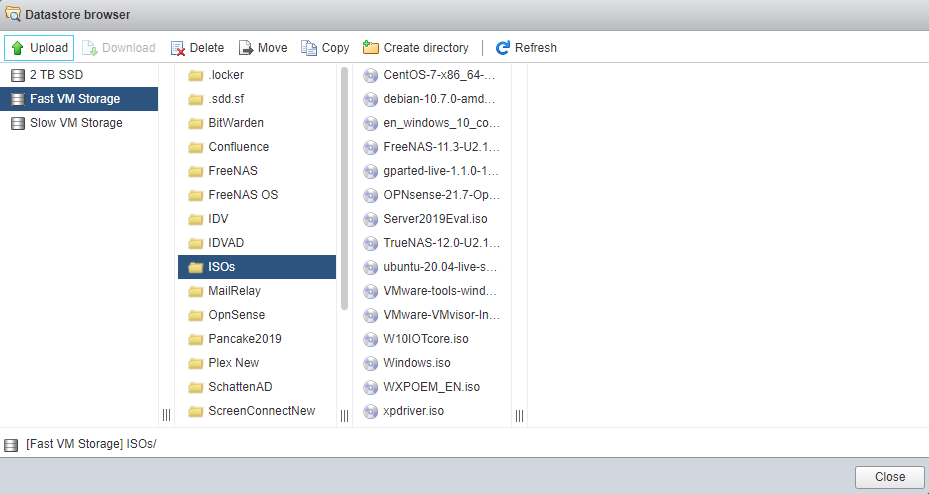
A file picker will let you select a location from which to choose your local ISO.
Once your ISO has been uploaded, right click your VM from the “Virtual Machines” view and select “Edit”.
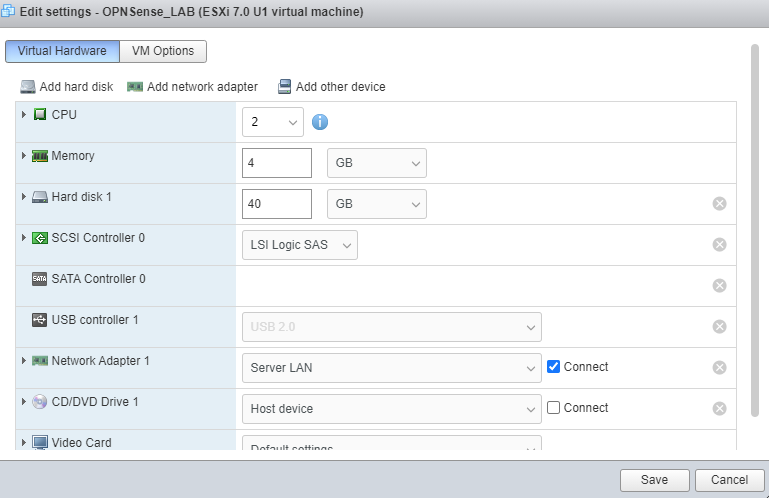
Under CD/DVD, expand with the arrow on the lefthand side.
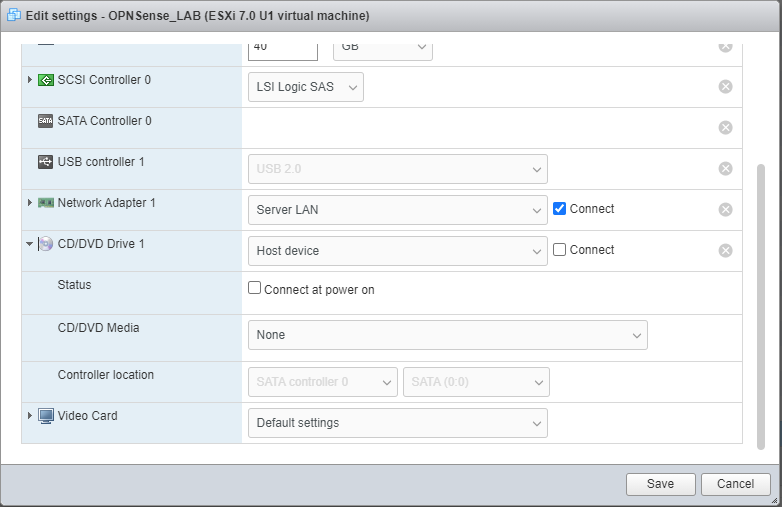
From the dropdown change “Host Device” to “Datastore ISO File”. Select your ISO from the location in your vSphere or ESXI environment where it was uploaded. Make sure to check both “Connect” and “Connect at power on” (See image below).
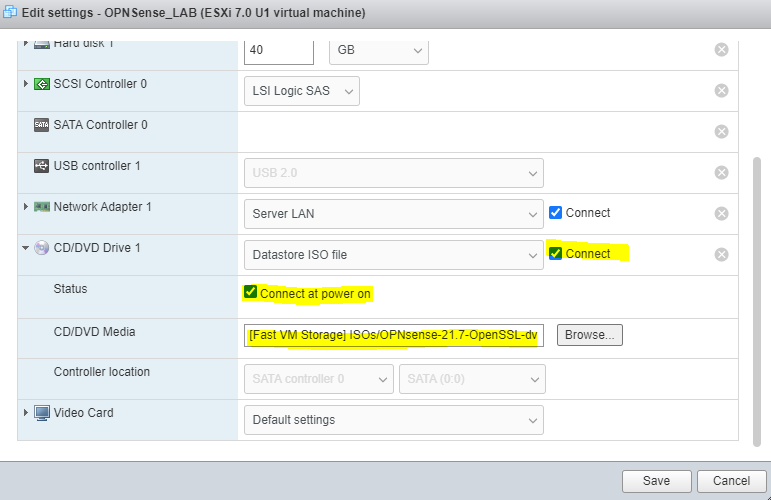
Select “Save” to commit your changes.
Right click on the VM and select “Power On”.
It will take quite some time for the VM to boot.
Installing OPNSense
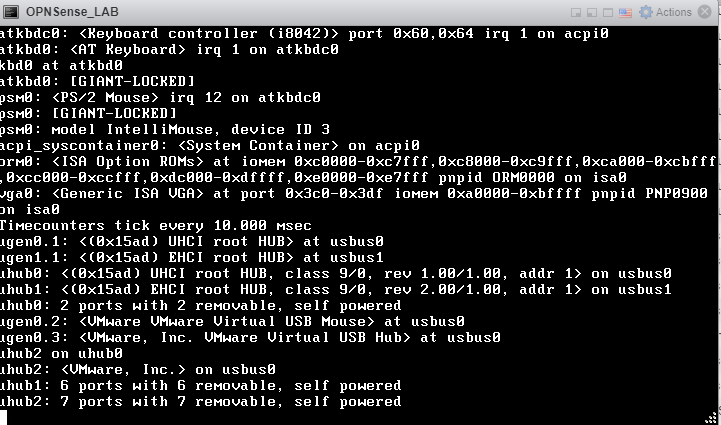
You will need to wait until it presents the following scree with a login prompt.
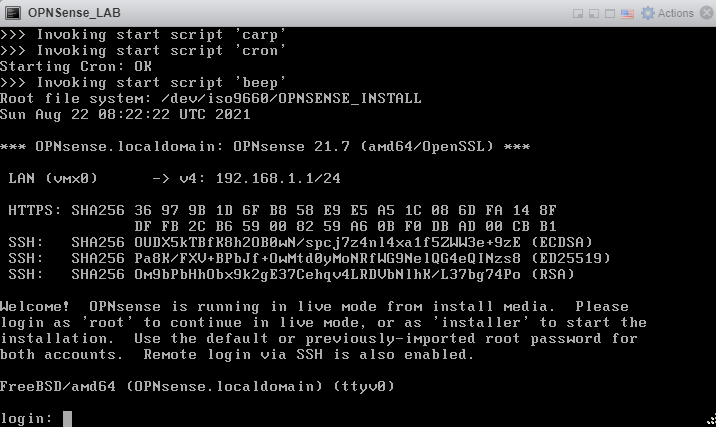
Login at the console with default username and password root / opnsense.
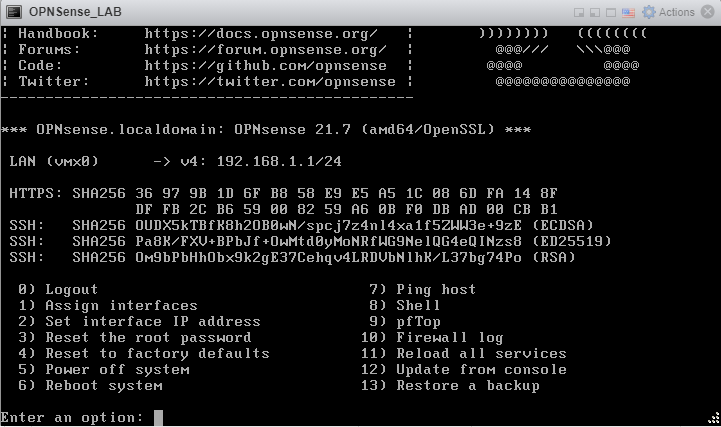
With a single interface, OPNSense defaults secure to having it be your LAN interface, unreachable by other components on your network. Type ‘1’ and select Enter to assign interfaces.

Type ‘N’ and press enter. We are not configuring VLANs.
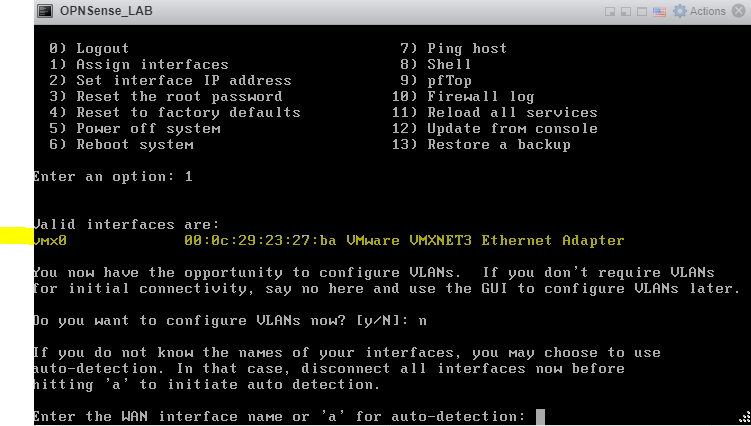
Select type the name of your only interface displayed above, in my case vmx0. Press Enter.
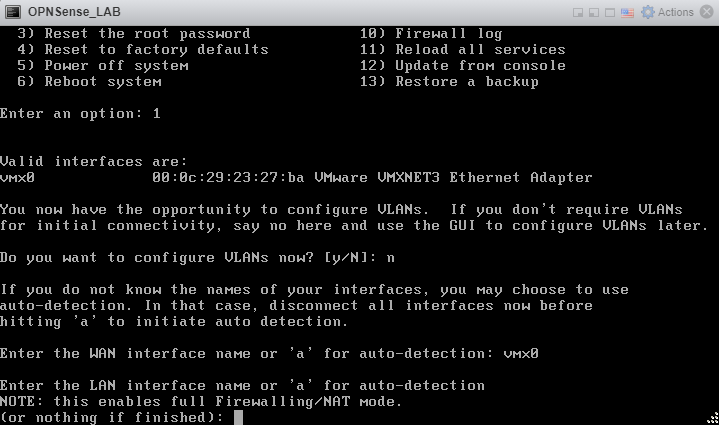
Press Enter without typing anything to continue.
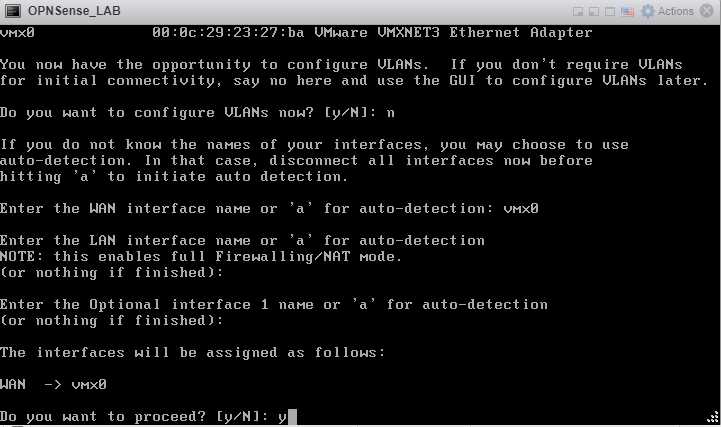
Type ‘Y’ and hit enter to commit your changes.
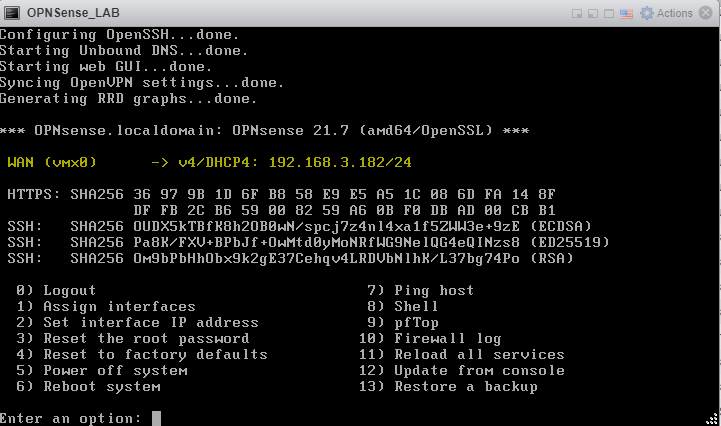
If your environment is like mine and has a DHCP server, an IP address on your local network will appear up top. Otherwise, you can type ‘2’ to begin the wizard to set a manual IP for OPNSense. (This is beyond the scope of this tutorial).
Visiting this IP, we are presented with a login page for OPNSense. Use the same username / password combo of root / opnsense to login.
Creating your Root Certificate
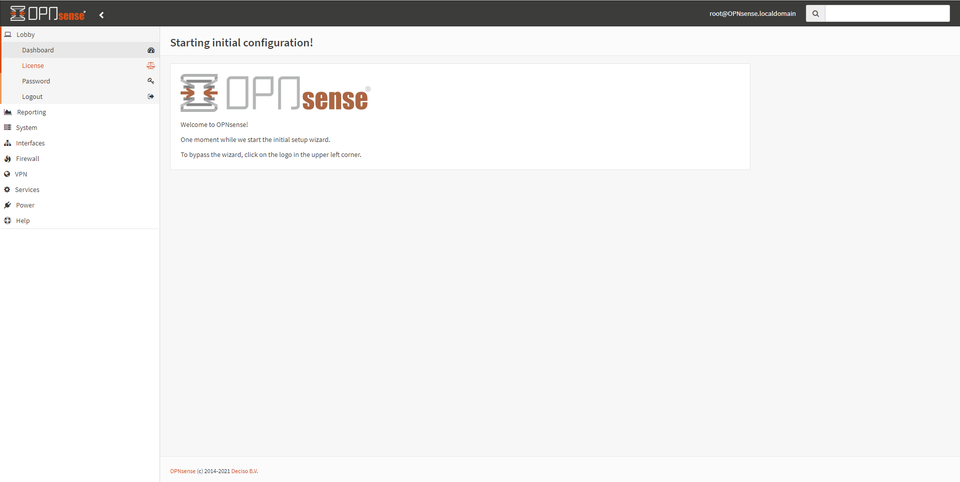
OPNSense is capable of many things, but today our singular purpose is to have an easy GUI based internal CA at our fingertips, perfect for a small office or home lab.
On the lefthand side, navigate to System -> Trust -> Authorities.
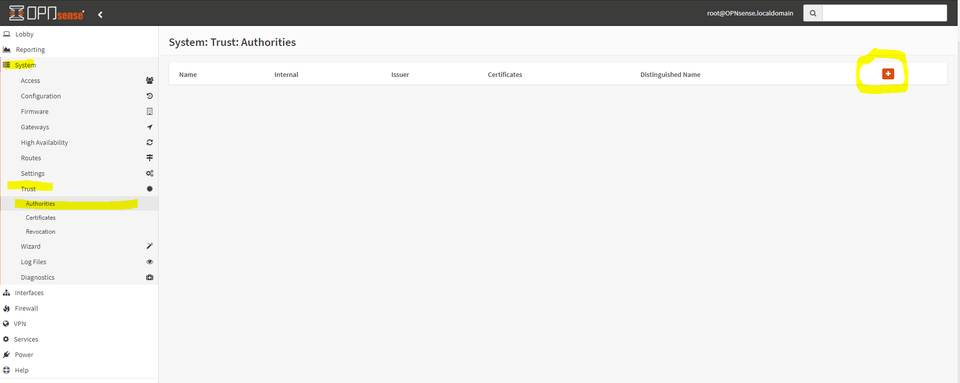
Select the + sign on the upper right to begin creating our root certificate.
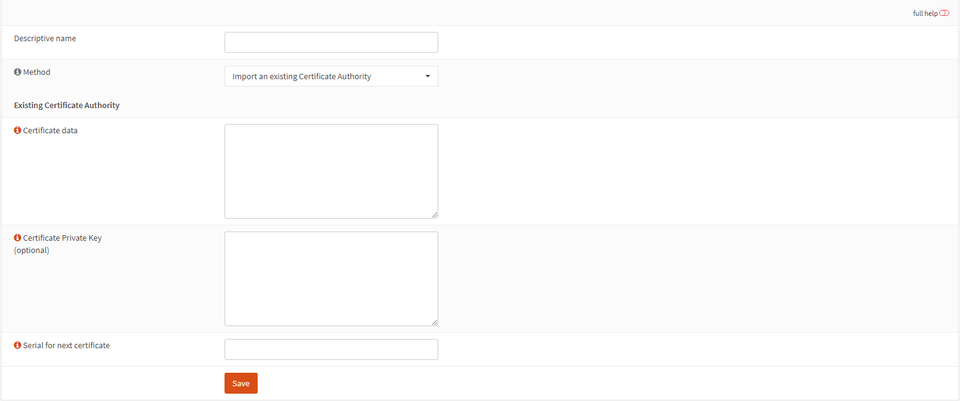
Give the authority a name, and change the dropdown to “Create an internal certificate authority”. Optionally, if you have an existing CA created with OpenSSL, it can be imported here for ease of management.
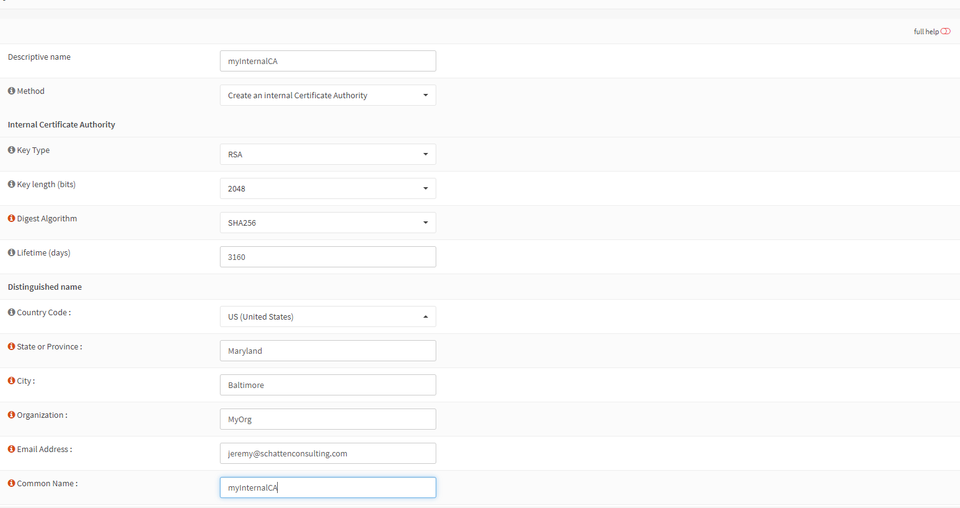
Populate the following information:
Key Type: RSA is the most compatible, but Elliptic Curve is more efficient.
Key Length: 2048 will be acceptable for at least the next few years. For a more future-proof deployment, select 4096.
LifeTime: This dictates when your internal CA will expire. Typically these are set to at least 10 years.
The rest of the fields will populate the X509 certificate for your root CA with common name, locality, organization, and email address.
Select “save”.

Select the first “Download” option to download the public certificate of your CA locally. You will need it when you configure it on clients. Mouse over these buttons for a textual description of the action.

Select the second download option to download a file containing the private key of your root CA. This must be protected dearly. The security of our deployment ultimately chains back to keeping this secret.
Take the private key and put it on a flash drive in a safe location. It is a best practice for it to remain perpetually offline. We will create an intermediate CA, and should the intermediate CA ever become compromised we would use the private key of the root CA to revoke it.
Creating your Intermediate Certificate
Select the + again at the top right.
This time,
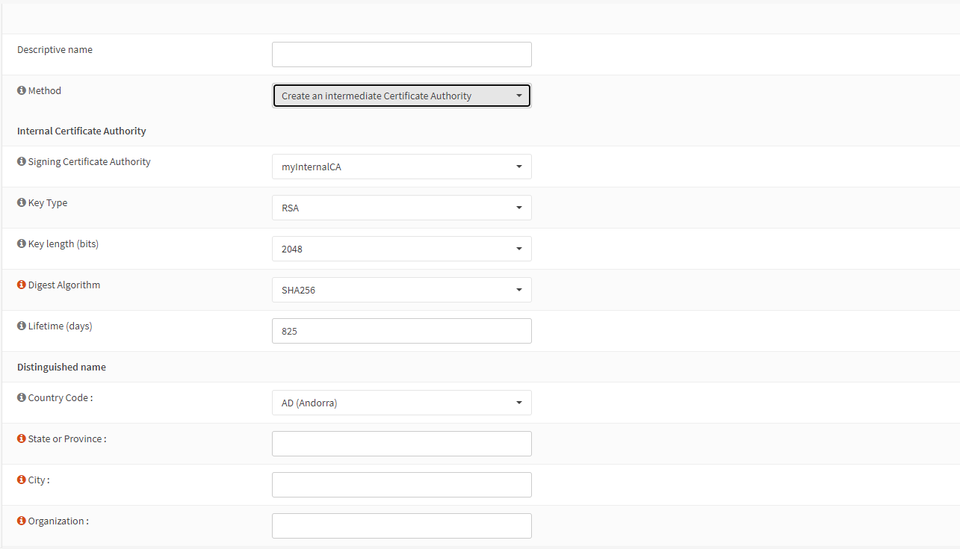
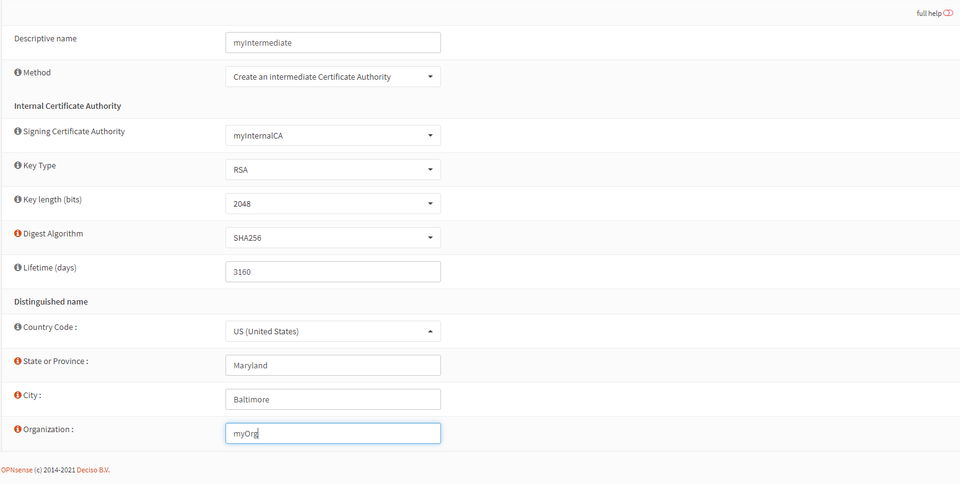
The values requested will be largely the same as creating the root, but make sure to name the Intermediate Certificate in a way that will make sense later.
Select “Save”.
Now, perhaps counterintuitively, DELETE your Root CA with the garbage can icon. It is a best practice for the root CA to remain offline and for the intermediate certificate to be used to issue certificates.

Take this time to download the public key for your intermediate certificate. This along with the public key from the root certificate will be needed to build a full chain.
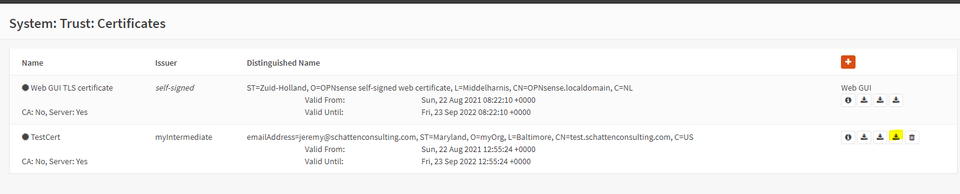
Now, under System -> Trust -> Certificates, we can issue one or more end-entity certificates by selecting the + sign.
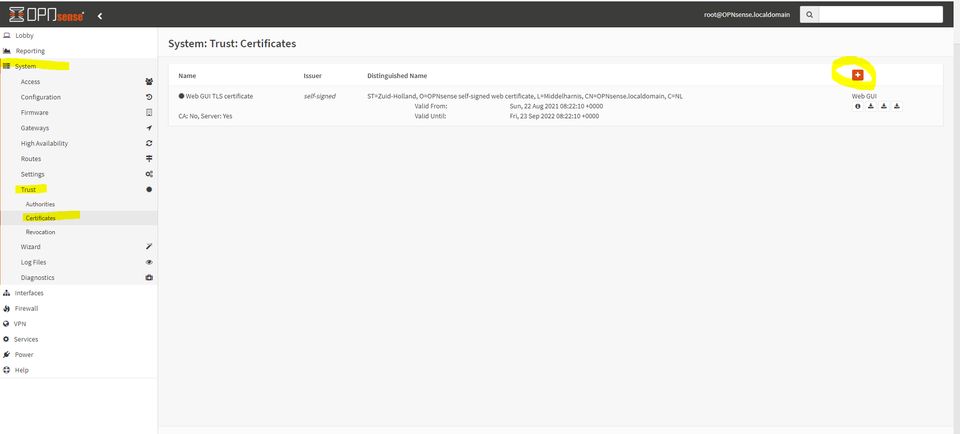
Change the drop down to “Create an internal certificate”.
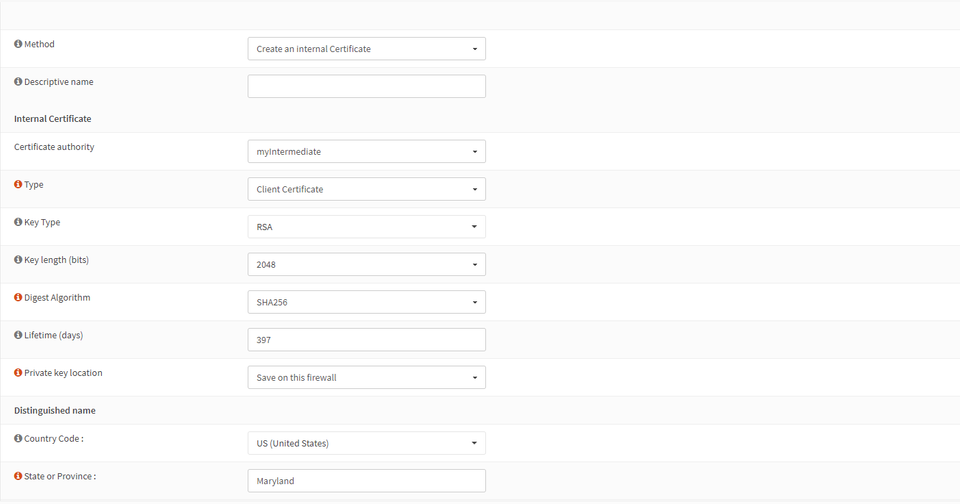
From here, we can issue a certificate without even needing a CSR. Make sure to select “Server Certificate” if you want to use your SSL/TLS certificate for an endpoint. Client certificate is for mutual authentication (which is a great way to authenticate to a reverse proxy! See www.ssltrust.com/help/setup-guides/client-certificate-authentication. Make sure to populate subject alternative names. Newer browsers require these to trust an endpoint.
Optionally, the dropdown choice “Sign a Certificate Request” allows us to sign a CSR generated from another system. This is a best practice so that the private key does not need to live on OPNSense.

Creating a certificate on OPNSense allows you to download a certificate in PCKS#12 (PFX) format for easy import onto windows machines.
Using these certificates
Like a publicly trusted CA, the root certificate must be installed in the certificate store of the client. (For chrome, edge, or internet explorer the operating system’s certificate store is used. For Firefox, this behavior depends on GPO in Windows environments but defaults to its own local in-browser certificate store.) Programs like java maintain a CACerts file which stores root certificate in JKS format. Whatever the certificate store, in order for trust to happen, the public key of your root certificate must be installed there.
The intermediate certificate on the other hand does NOT need to be known to your client beforehand. Instead, your server software should serve BOTH the end-entity certificate and the intermediate certificate as a hint for the client to be able to create a valid chain.
Conclusion
Creating an Internal CA can seem like a daunting task, but if your organization is still in the dark ages of self-signed certificates, this guide can serve as a roadmap for taking things to the next level in terms of confidentiality and integrity. With a little elbow grease and freely available tools, even a complete novice can create an internal certificate authority complete with an intermediate authority!
Discussions and Comments
Click here to view and join in on any discussions and comments on this article.